
This article will show how to install Magento 2 in windows with XAMPP in just seven steps, along with best practices and the right configurations. As our first step, let’s see the system requirements for Magento 2.
System Requirements For Magento 2:
- Apache 2.2 or 2.4
- XAMPP installed
- PHP version 7.0.13 to 7.2
- Mysql version 5.6 or 5.7
- Google chrome, firefox or Internet Explorer, etc.
Step 1: Installing XAMPP
- Go to the XAMPP installation page on the official website, click here.
- Download and install version 7.2 for windows.

- Save it in the disk and folder of your choice.
- Select all the necessary components that need to be installed along with xampp like Mysql, PHP, etc.
- Open Apache config and go to ‘php.ini.’

- Remove the beginning semicolon ‘;’ from ‘extension=php_intl.dll,’ ‘extension=soap,’ ‘extension=sockets’ and ’extension=php_xsl.dll.’

- Run MySQL and Apache services from the apache control panel

Step 2: Installing Composer
- Install the composer from the official installation page of the composer; visit Download Composer.

- Browse the php.exe file in the xampp/PHP folder and install the composer
Step 3: Download Magento
- Download the Magento version 2.3.5 setup for windows and install

- Extract the installation archive and rename the extracted folder according to your liking.
- Now copy the extracted folder and paste that into your ‘xampp/htdocs’ location.

Step 4: Install Magento

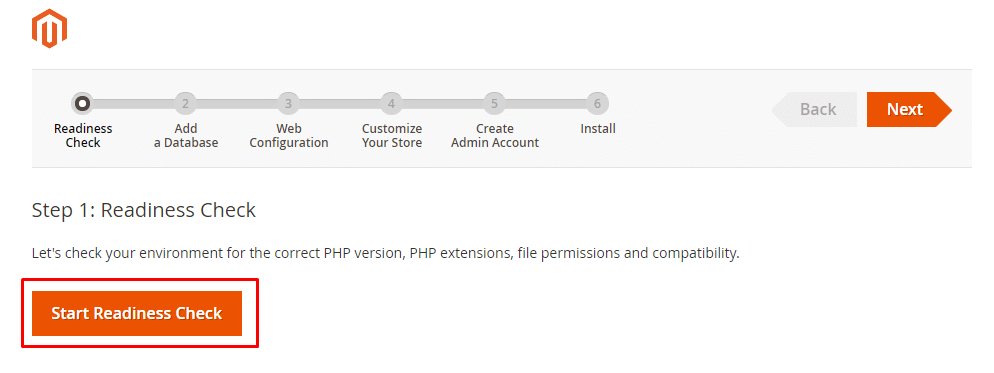
- Start installing Magento by running localhost/Magento.
- Click start readiness check(it will check whether all system requirements are fulfilled or not and generate a report.
- After this, click ‘next’ and start the ‘add database’ step.

- Fill in the details, set “Database services host” to “localhost,” “Database Username” to “root,” and set the database name as you have created in “phpMyAdmin.”


- Next comes the web configuration, set “your store address” to “http://localhost/magento” and “magento admin address” by suffixing your admin username with the “store address.”

- Now comes the “customize your store” phase here. Set the default timezone, default currency and language

- There are advanced configuration option too, which is optional, set it according to your need.
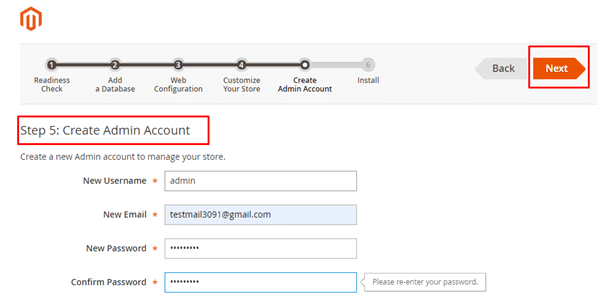
- Now create an account in the next step, using email id, password and username.
- Then comes the final step, click install now to start the installation.

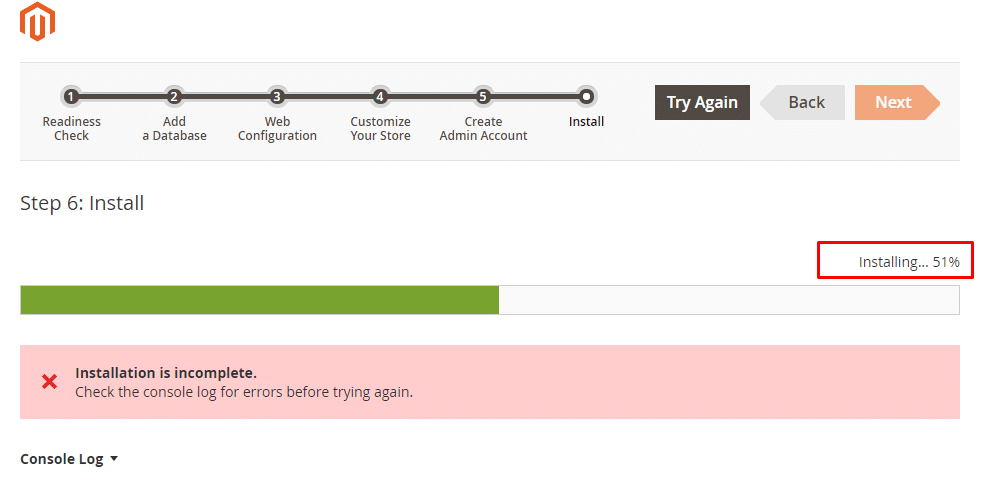
Step 5: Remove Installation Error
- The installation won’t complete, and it will show an error, and you need to replace the function “validateURLScheme” in the filename “\vendor\magento\framework\Image\Adapter\Gd2.php.”
- You can replace this function validateURLScheme in File name: \vendor\magento\framework\Image\Adapter\Gd2.phpprivate function validateURLScheme(string $filename) : bool{$allowed_schemes = [‘ftp’, ‘ftps’, ‘http’, ‘https’];$url = parse_url($filename);if ($url && isset($url[‘scheme’]) && !in_array($url[‘scheme’], $allowed_schemes) && !file_exists($filename) && strlen($url[‘scheme’]) > 1) {return false;}return true;
}
- Now refresh and click install again.
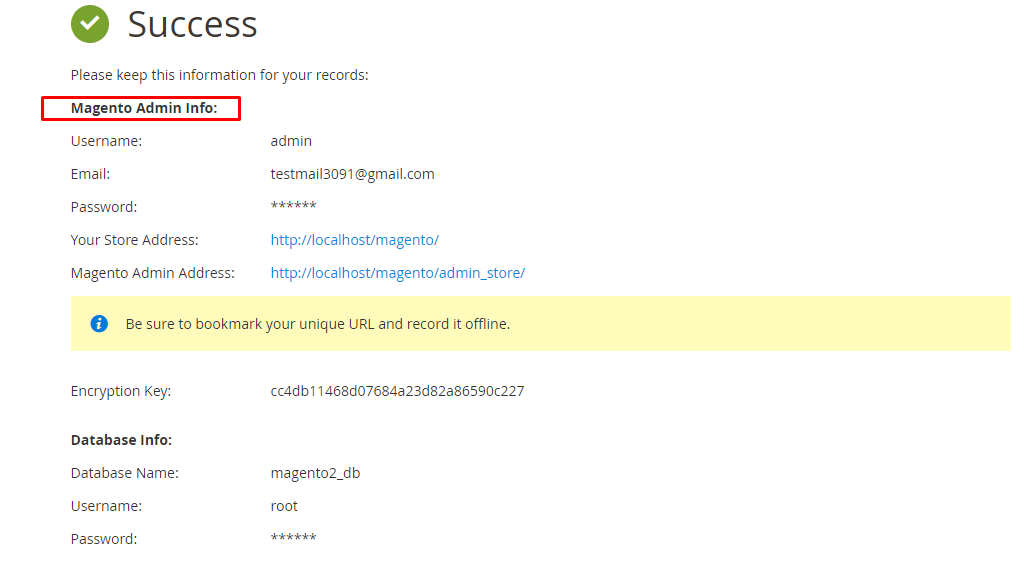
- When the installation completes, it will show a success message.
Step 6: Launching Admin Panel
- You can launch the admin panel in the browser
- If you still don’t see the admin dashboard
- Change URL validator function in the file “/vendor/magento/framework/View/Element/Template/File/Validator.php:113 “
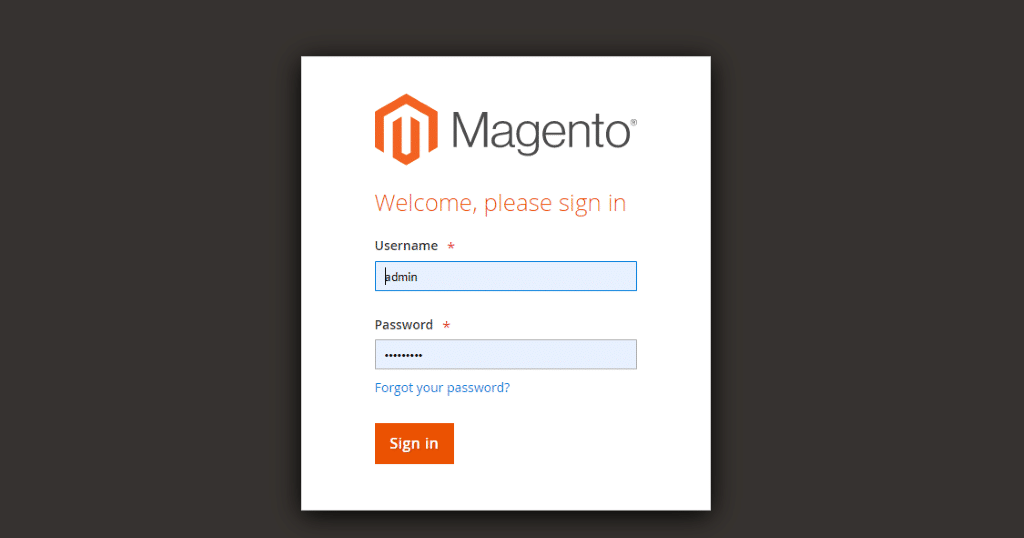
- Now when you refresh, you will see the login screen
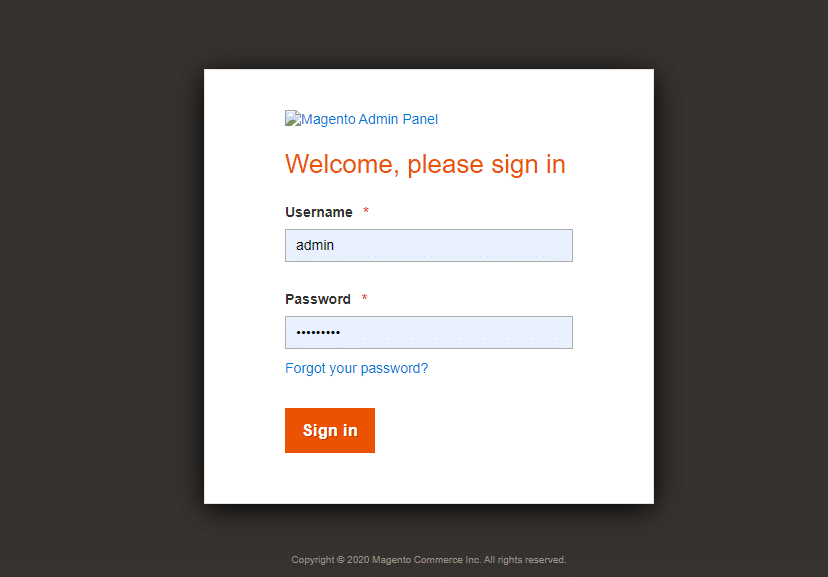
- Fill the credentials and sign in
Step 7: Now, as the last step, we will remove errors in the browser console log and broken image links.
- Open the command prompt
- Go to the project location of Magento, e.g., “xampp/htdocs/magento.”
- Type the following command “php bin/magento setup:upgrade”
- After that type “php bin/magento setup:static-content:deploy -f “
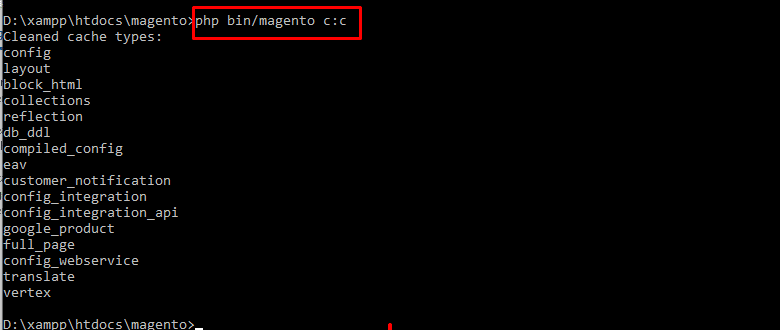
- And finally, “php bin/magento c:c.”


Conclusion
Congrats, your Magento 2 store is ready to run on windows localhost. Hope you will find this article helpful; if you follow these steps properly, you will be able to run Magento 2 on windows localhost with xampp; if you cannot set it up, ask for the discussion forums, somebody will help you fix the issues.


